Get started
Polars Cloud is a managed compute platform for your Polars queries. It runs in a 'Bring your own
Cloud' model, so your data never leaves your environment. This page takes you from sign-up to your
first query. You create an account and land in a workspace called My workspace. From there you can
use Polars Cloud in two ways: profile queries that run on your own machines, which doesn't require
any cloud infrastructure; or connect your AWS account or Kubernetes cluster and run queries on
compute in your own cloud environment. infrastructure. Or connect your AWS account or Kubernetes
cluster and run queries on compute in your own environment.
Install
Install Polars and the Polars Cloud Python library in your environment:
$ pip install polars polars-cloud
The package includes the pc command line tool. Where a step below has a CLI equivalent, it is
listed alongside the browser flow.
Sign up
Sign up at cloud.pola.rs, or run pc authenticate, which opens the same
page in your browser. Polars Cloud creates a default organization
and workspace for you, called My organization and My workspace respectively, and opens the
dashboard. You can rename both later, the organization under Organization > Settings and the
workspace under its settings page.
Get started checklist
The dashboard opens on a welcome page with three steps. Complete them in any order. The Get started! card in the sidebar tracks your progress.
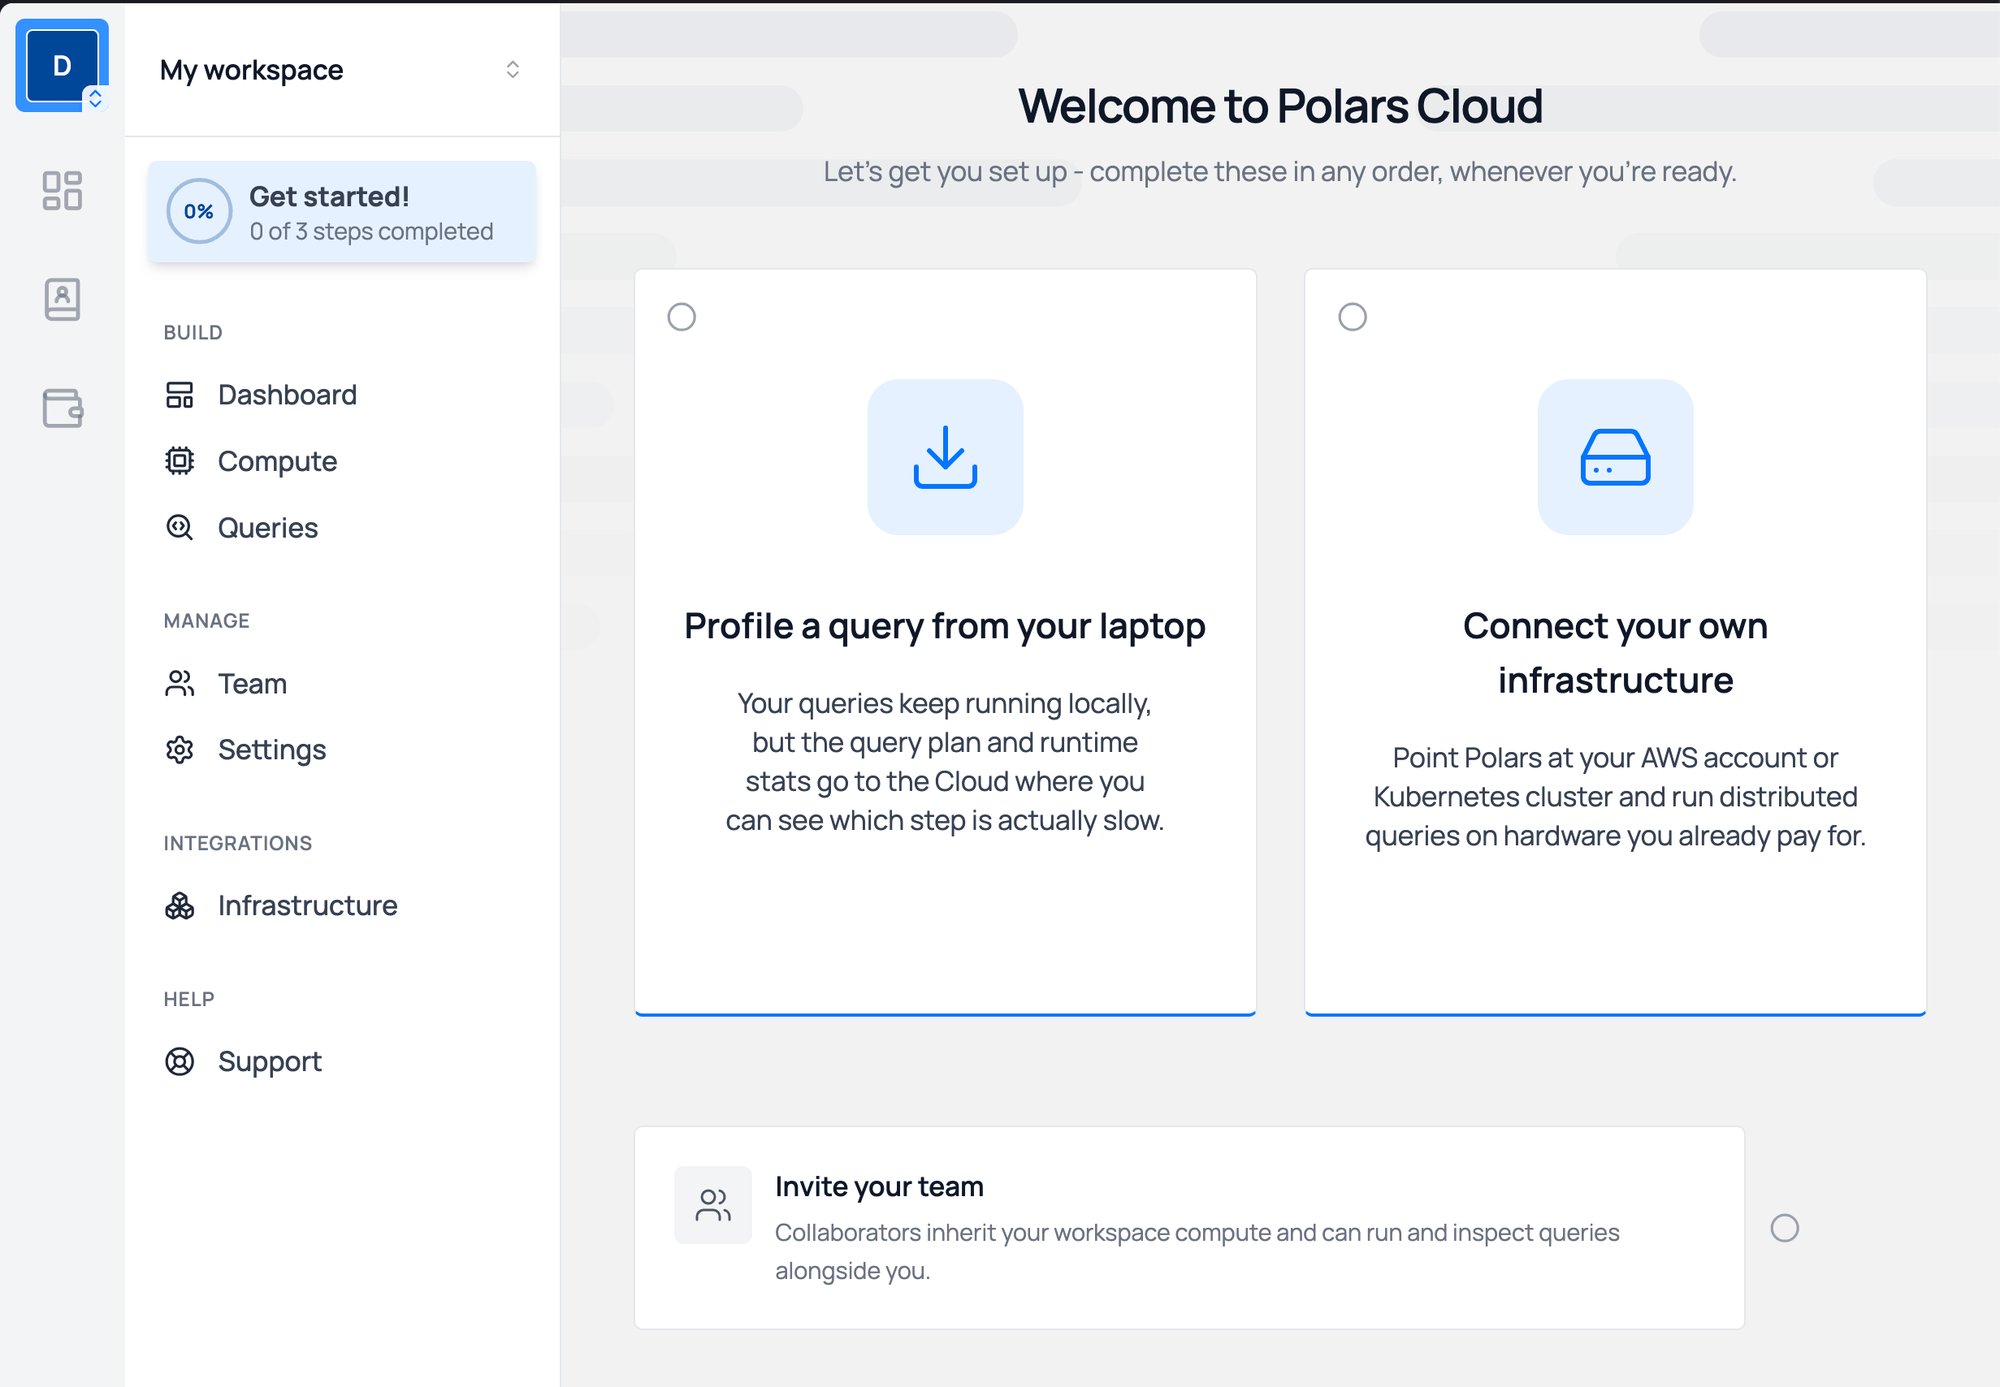
- Profile a query from your laptop. Add
pl.Config.enable_monitoring()above a lazy query and run it as usual. The query keeps running locally. Polars sends the query plan and per-operator runtime stats to your workspace, where the profiler shows which step is slow. Open the query from the Queries tab of your workspace to see the profile. - Connect your own infrastructure. Point Polars Cloud at your AWS account or Kubernetes cluster to run distributed queries on hardware you already pay for. The rest of this page covers this step.
- Invite your team. Collaborators share the workspace compute and can run and inspect queries alongside you.
No infrastructure required
You don't have to connect a cloud account to use Polars Cloud. Profiling local queries works with nothing but the polars-cloud package installed. Connect infrastructure when a query outgrows your machine or you want to offload work to the cloud.
Connect your infrastructure
Open Infrastructure under Integrations in the sidebar. This page lists the infrastructure modules you can connect to the workspace.
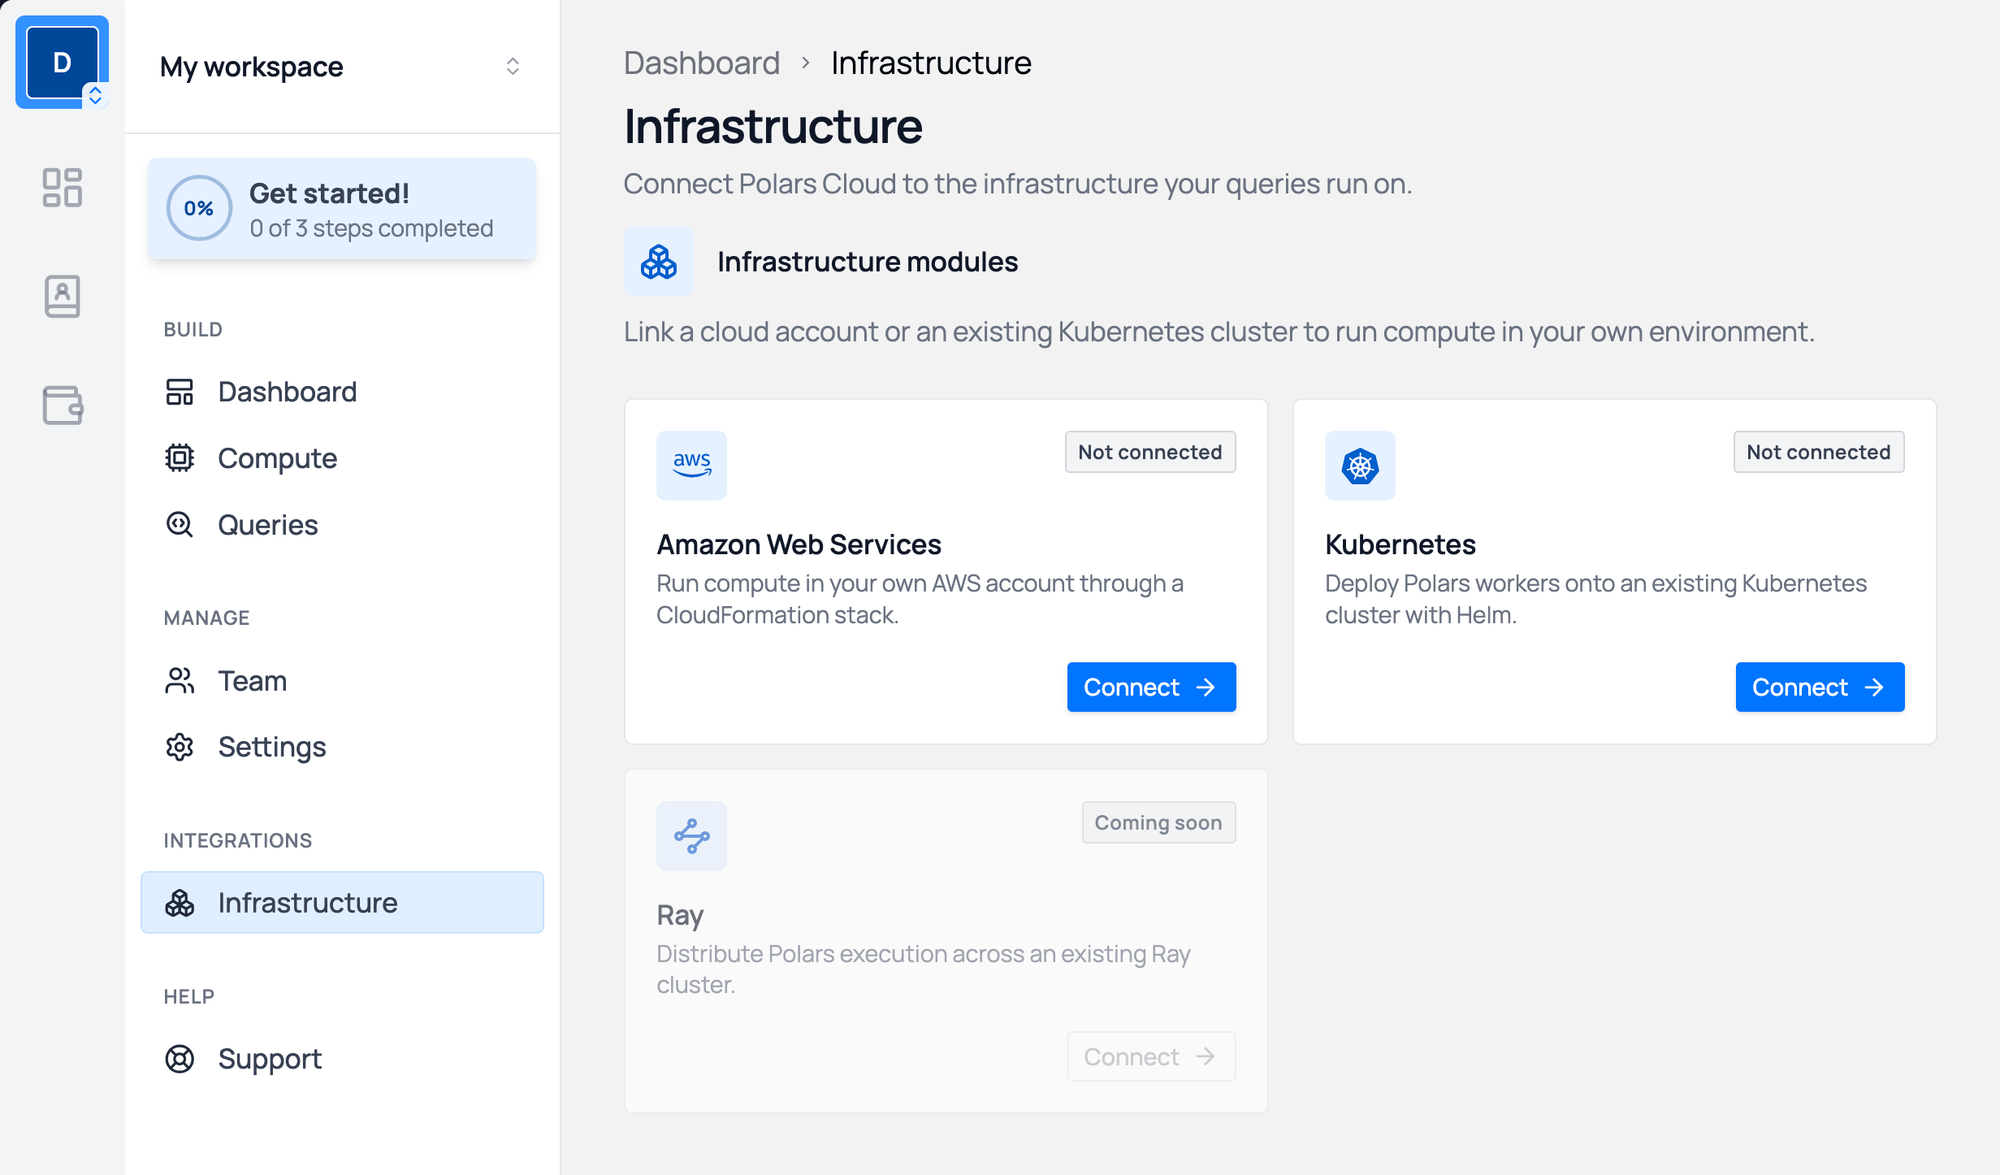
- Amazon Web Services: runs compute in your own AWS account through a CloudFormation stack. The sections below cover this path.
- Kubernetes: deploys Polars workers onto an existing cluster with Helm. See the EKS, GKE, or AKS guides.
- Ray: distributes Polars execution across an existing Ray cluster. Coming soon.
Prefer the command line?
The pc CLI covers the same setup without the dashboard. pc authenticate creates your account together with the default organization and workspace, and these commands connect AWS:
pc workspace aws connect --workspace-name "My workspace"connects the workspace that came with your account.pc workspace create --workspace-name <NAME> --organization-name <ORG> --connect-awscreates a separate workspace and connects it in one command.
Both open the same CloudFormation quick-create page described below.
Connect AWS
Click Connect on the Amazon Web Services card. The Connect AWS page has two steps: link your AWS account and deploy the CloudFormation stack.
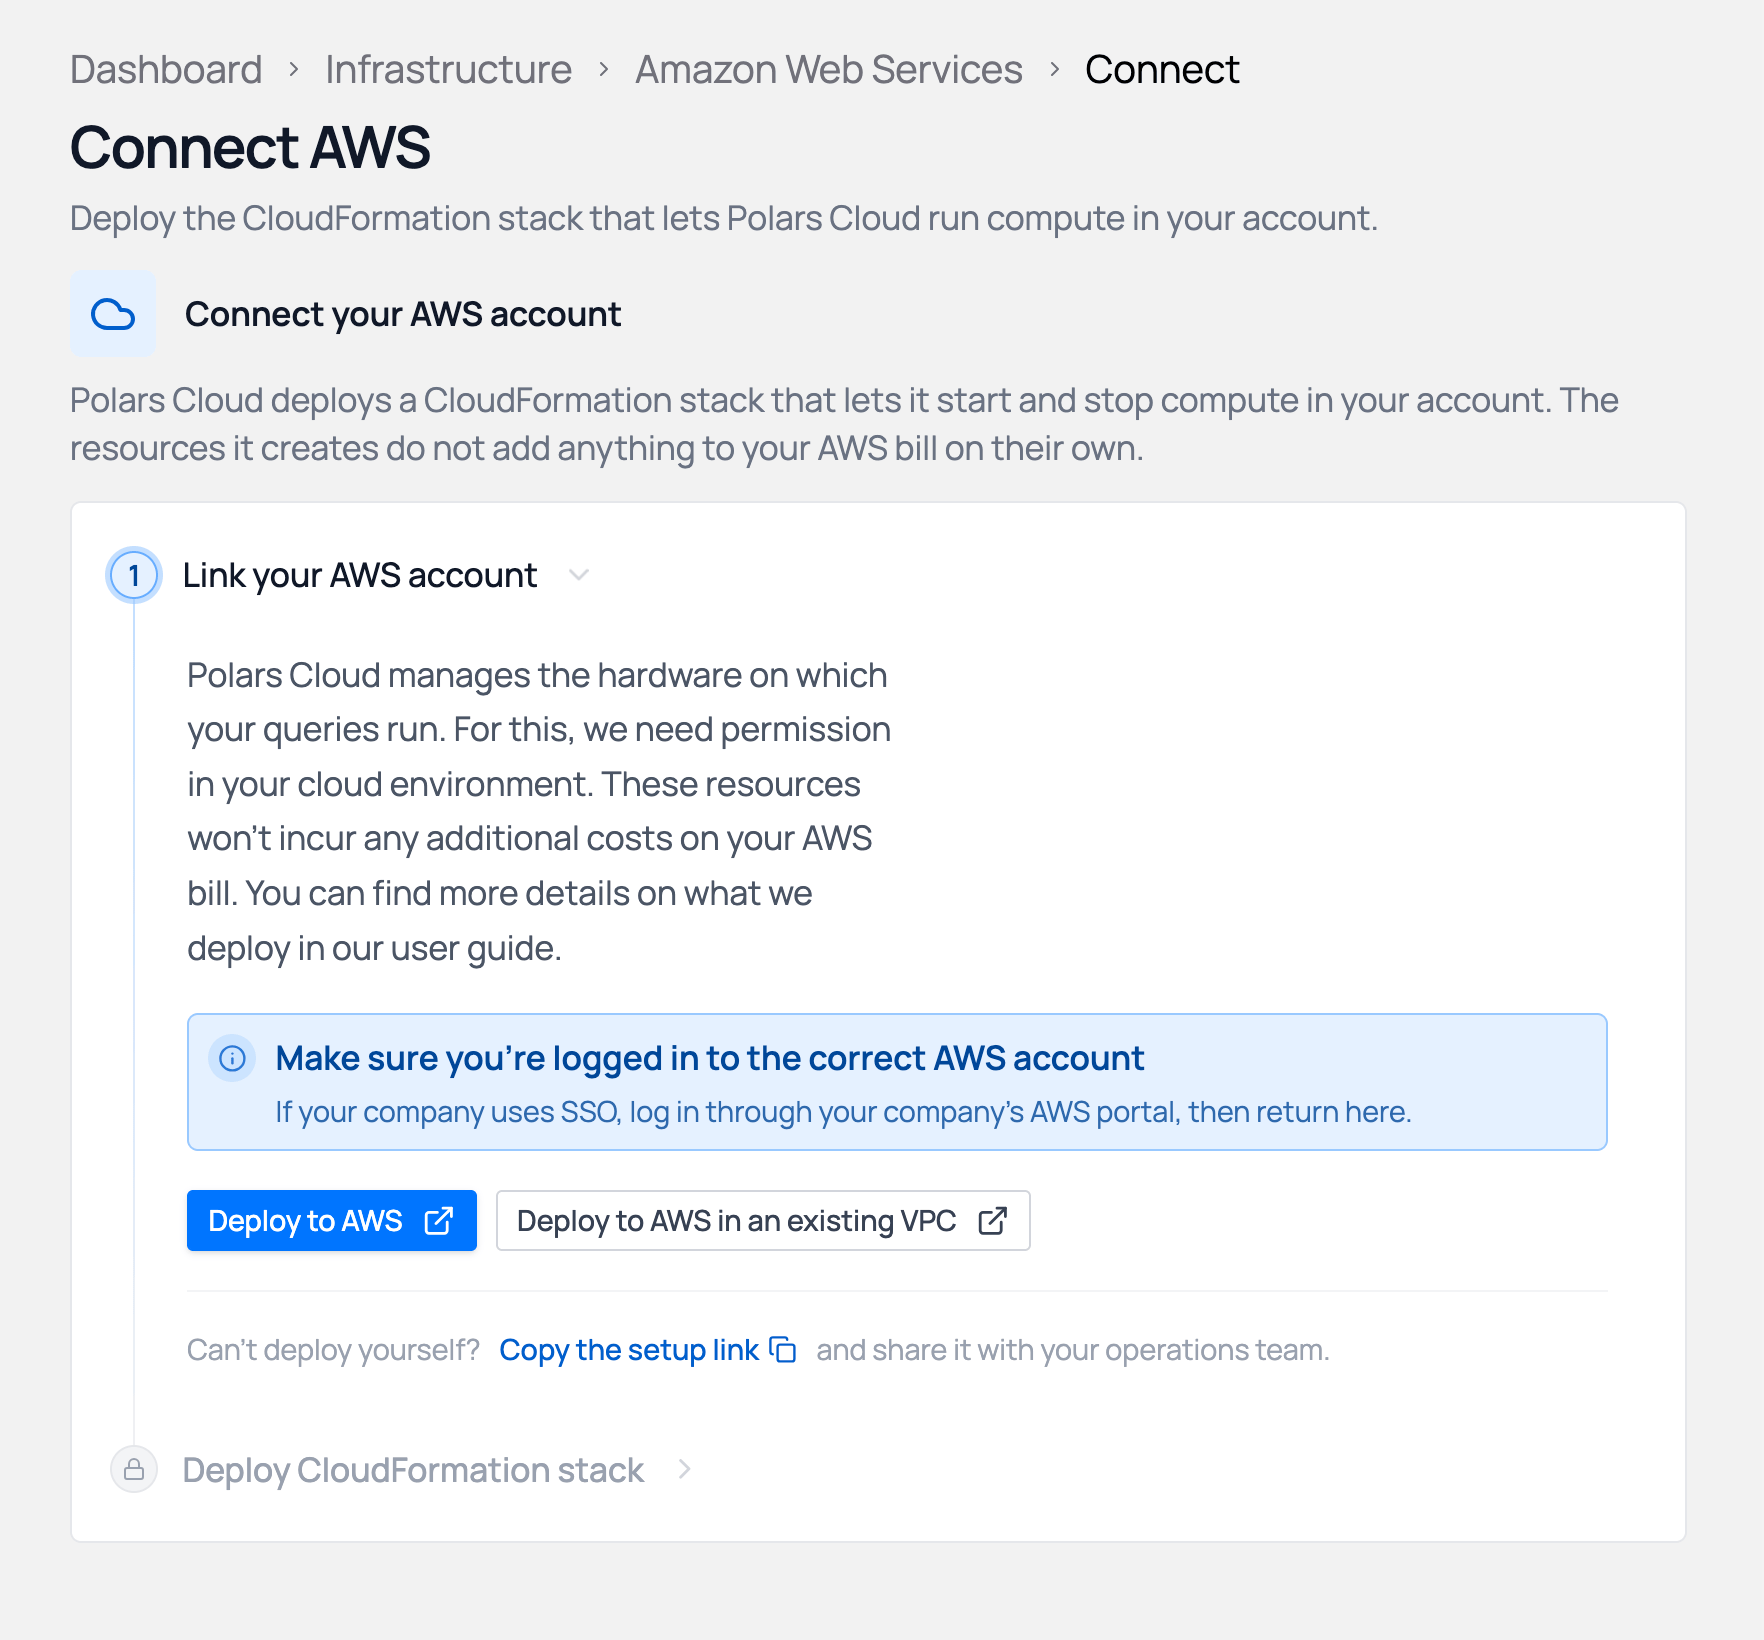
Polars Cloud manages the hardware your queries run on. For this it needs permission in your AWS account, which the CloudFormation stack grants. The resources the stack creates don't add anything to your AWS bill on their own. The AWS infrastructure page describes what gets deployed.
Make sure you're logged in to the correct AWS account before you continue. If your company uses SSO, log in through your company's AWS portal first, then return to Polars Cloud.
The Link your AWS account step offers three options depending on your AWS access:
- Deploy to AWS: opens the CloudFormation quick-create page in your browser.
- Deploy to AWS in an existing VPC: uses a VPC you already have instead of creating a new one.
- Copy the setup link: share the deployment URL with your operations team or AWS administrator.
CloudFormation permissions
If you can't deploy CloudFormation stacks yourself, copy the setup link and share it with your operations team or AWS administrators. They can deploy it without a Polars Cloud account.
Deploy the CloudFormation stack
The CloudFormation quick-create page is pre-filled with the template URL and a stack name derived from your workspace name. You don't have to change anything.
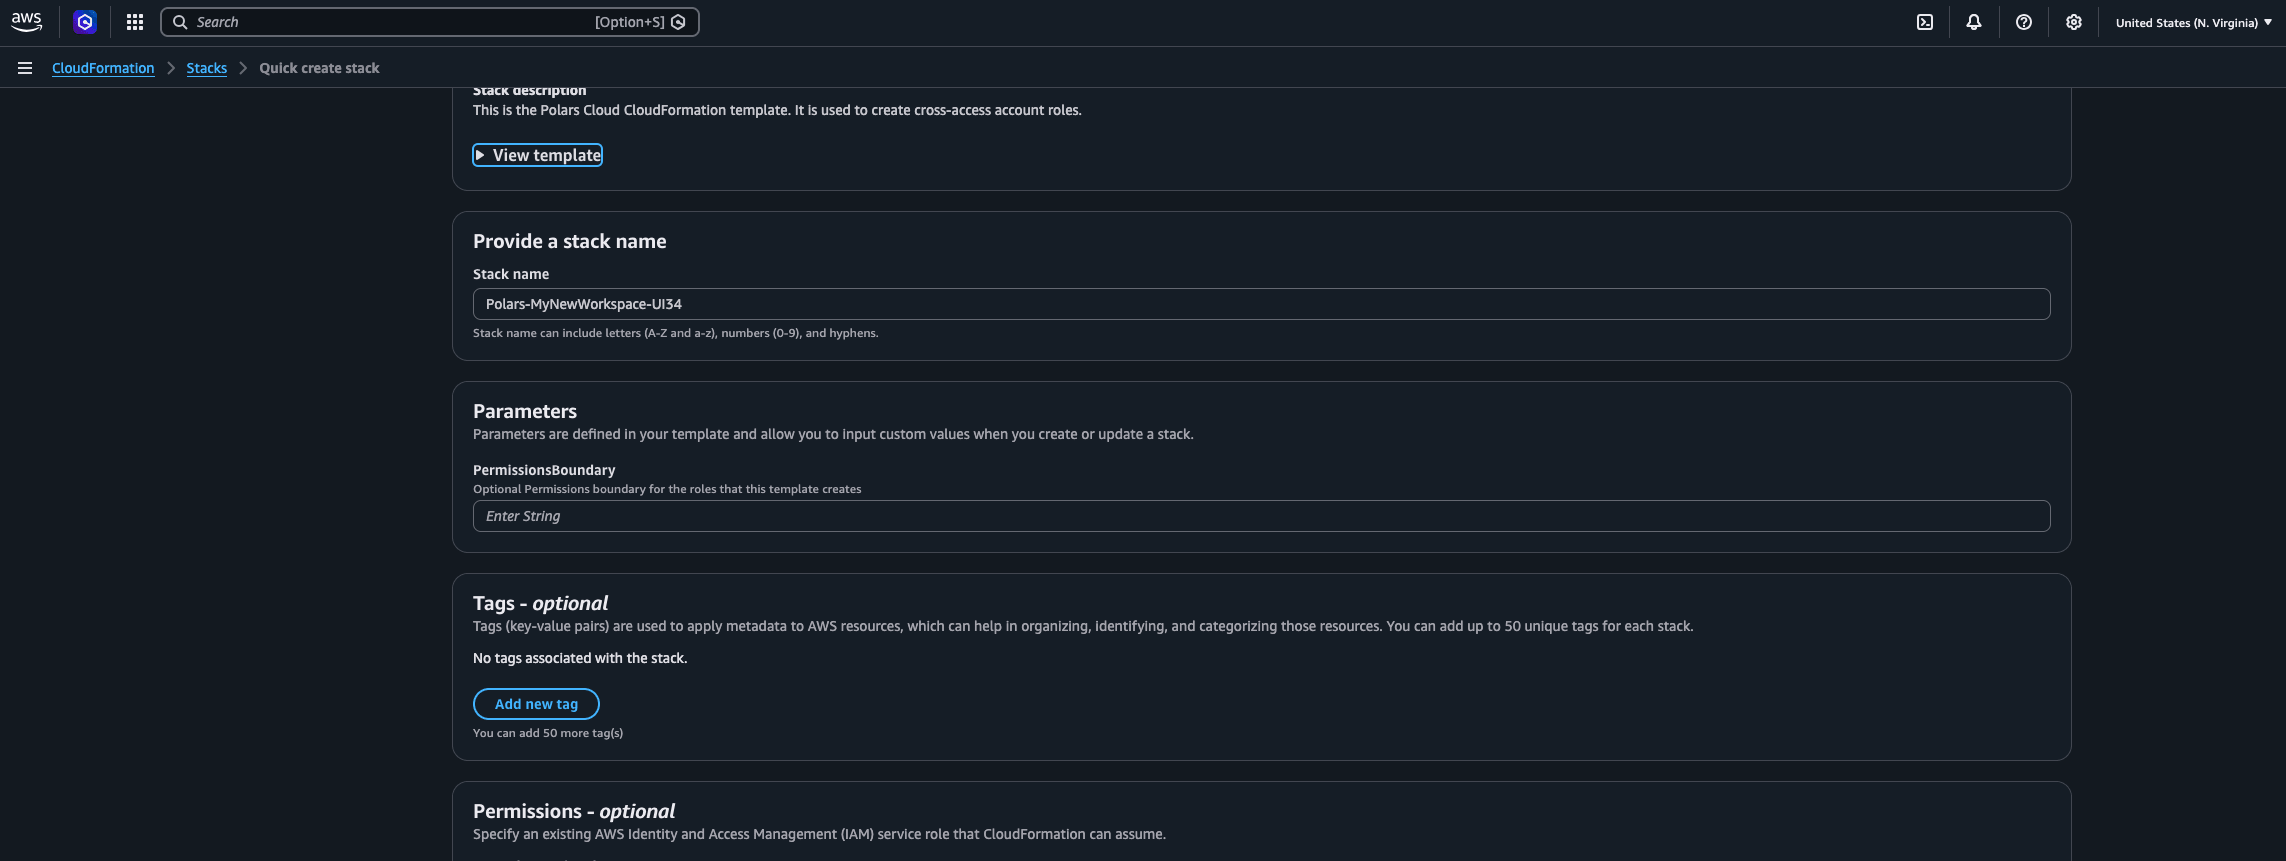
Before clicking Create stack, scroll to the bottom of the page and check the acknowledgment that the template creates IAM resources.

Back in Polars Cloud, the Deploy CloudFormation stack step tracks progress:
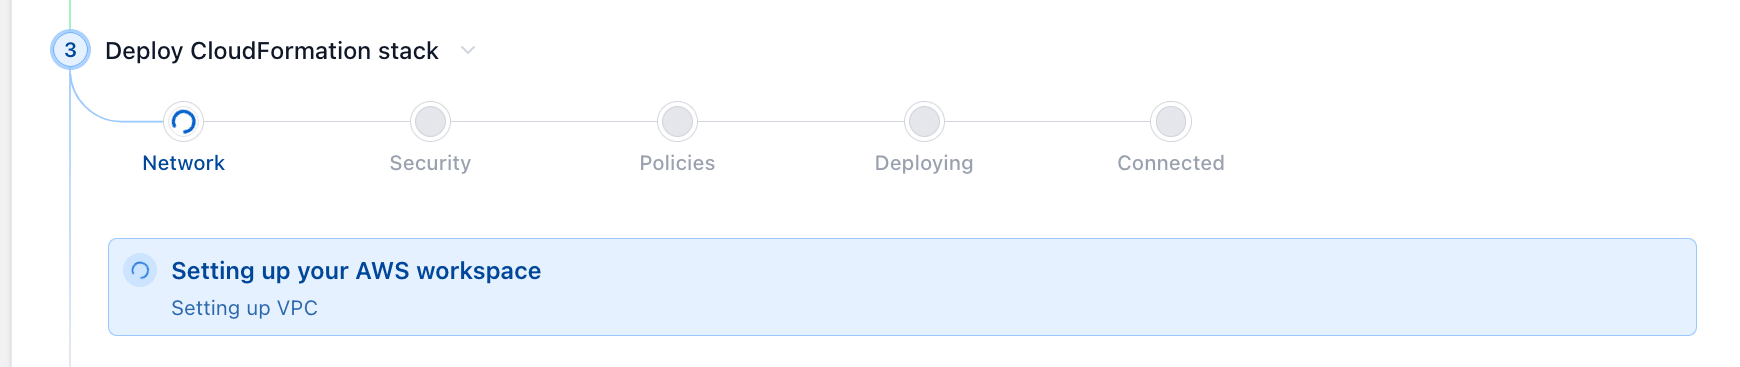
Stack deployment typically completes within 5 minutes. Once it shows Connected, the workspace can run remote queries.
Invite your team
Invite colleagues to the workspace by email from the Invite your team card on the welcome page or from the Team page in the sidebar.

One-time workspace setup
Connecting infrastructure is done once per workspace. Members you invite to a connected workspace can run remote queries right away, without any setup of their own.
Members can inspect every query profile in the workspace, including profiles of local queries other
members sent with enable_monitoring(). See the team page for workspace roles
and organization members for access at the organization level.
Run your first remote query
With the stack connected, run a query on the new compute. Write Polars like you're used to and call
.remote() on the LazyFrame with a compute context that describes the hardware:
ComputeContext · LazyFrameRemote
import polars as pl
import polars_cloud as pc

# First, we need to define the hardware the cluster will run on.
# This can be done by specifying the minimum CPU and memory or
# by specifying the exact instance type in AWS.

ctx = pc.ComputeContext(memory=8, cpus=2, cluster_size=1)

# Then we write a regular lazy Polars query. In this example
# we compute the maximum of column.

lf = pl.LazyFrame(
    {
        "a": [1, 2, 3],
        "b": [4, 4, 5],
    }
).with_columns(
    pl.col("a").max().over("b").alias("c"),
)

# At this point, the query has not been executed yet.
# We need to call `.remote()` to signal that we want to run
# on Polars Cloud and then `.execute()` send the query and execute it.

lf.remote(context=ctx).execute()

# The query and compute used will also show up in the
# portal at https://cloud.pola.rs/portal/
On the first run a browser window opens to authenticate. Credentials are cached locally, so later runs don't open the browser. The query, its compute, and its profile show up under Queries in the dashboard.
Next steps
- Learn how to run queries remotely and get the most out of Polars Cloud
- Profile your queries to understand and optimize performance
- Learn about compute context configuration for performance optimization
- Invite team members to your connected workspace to collaborate on your next project